

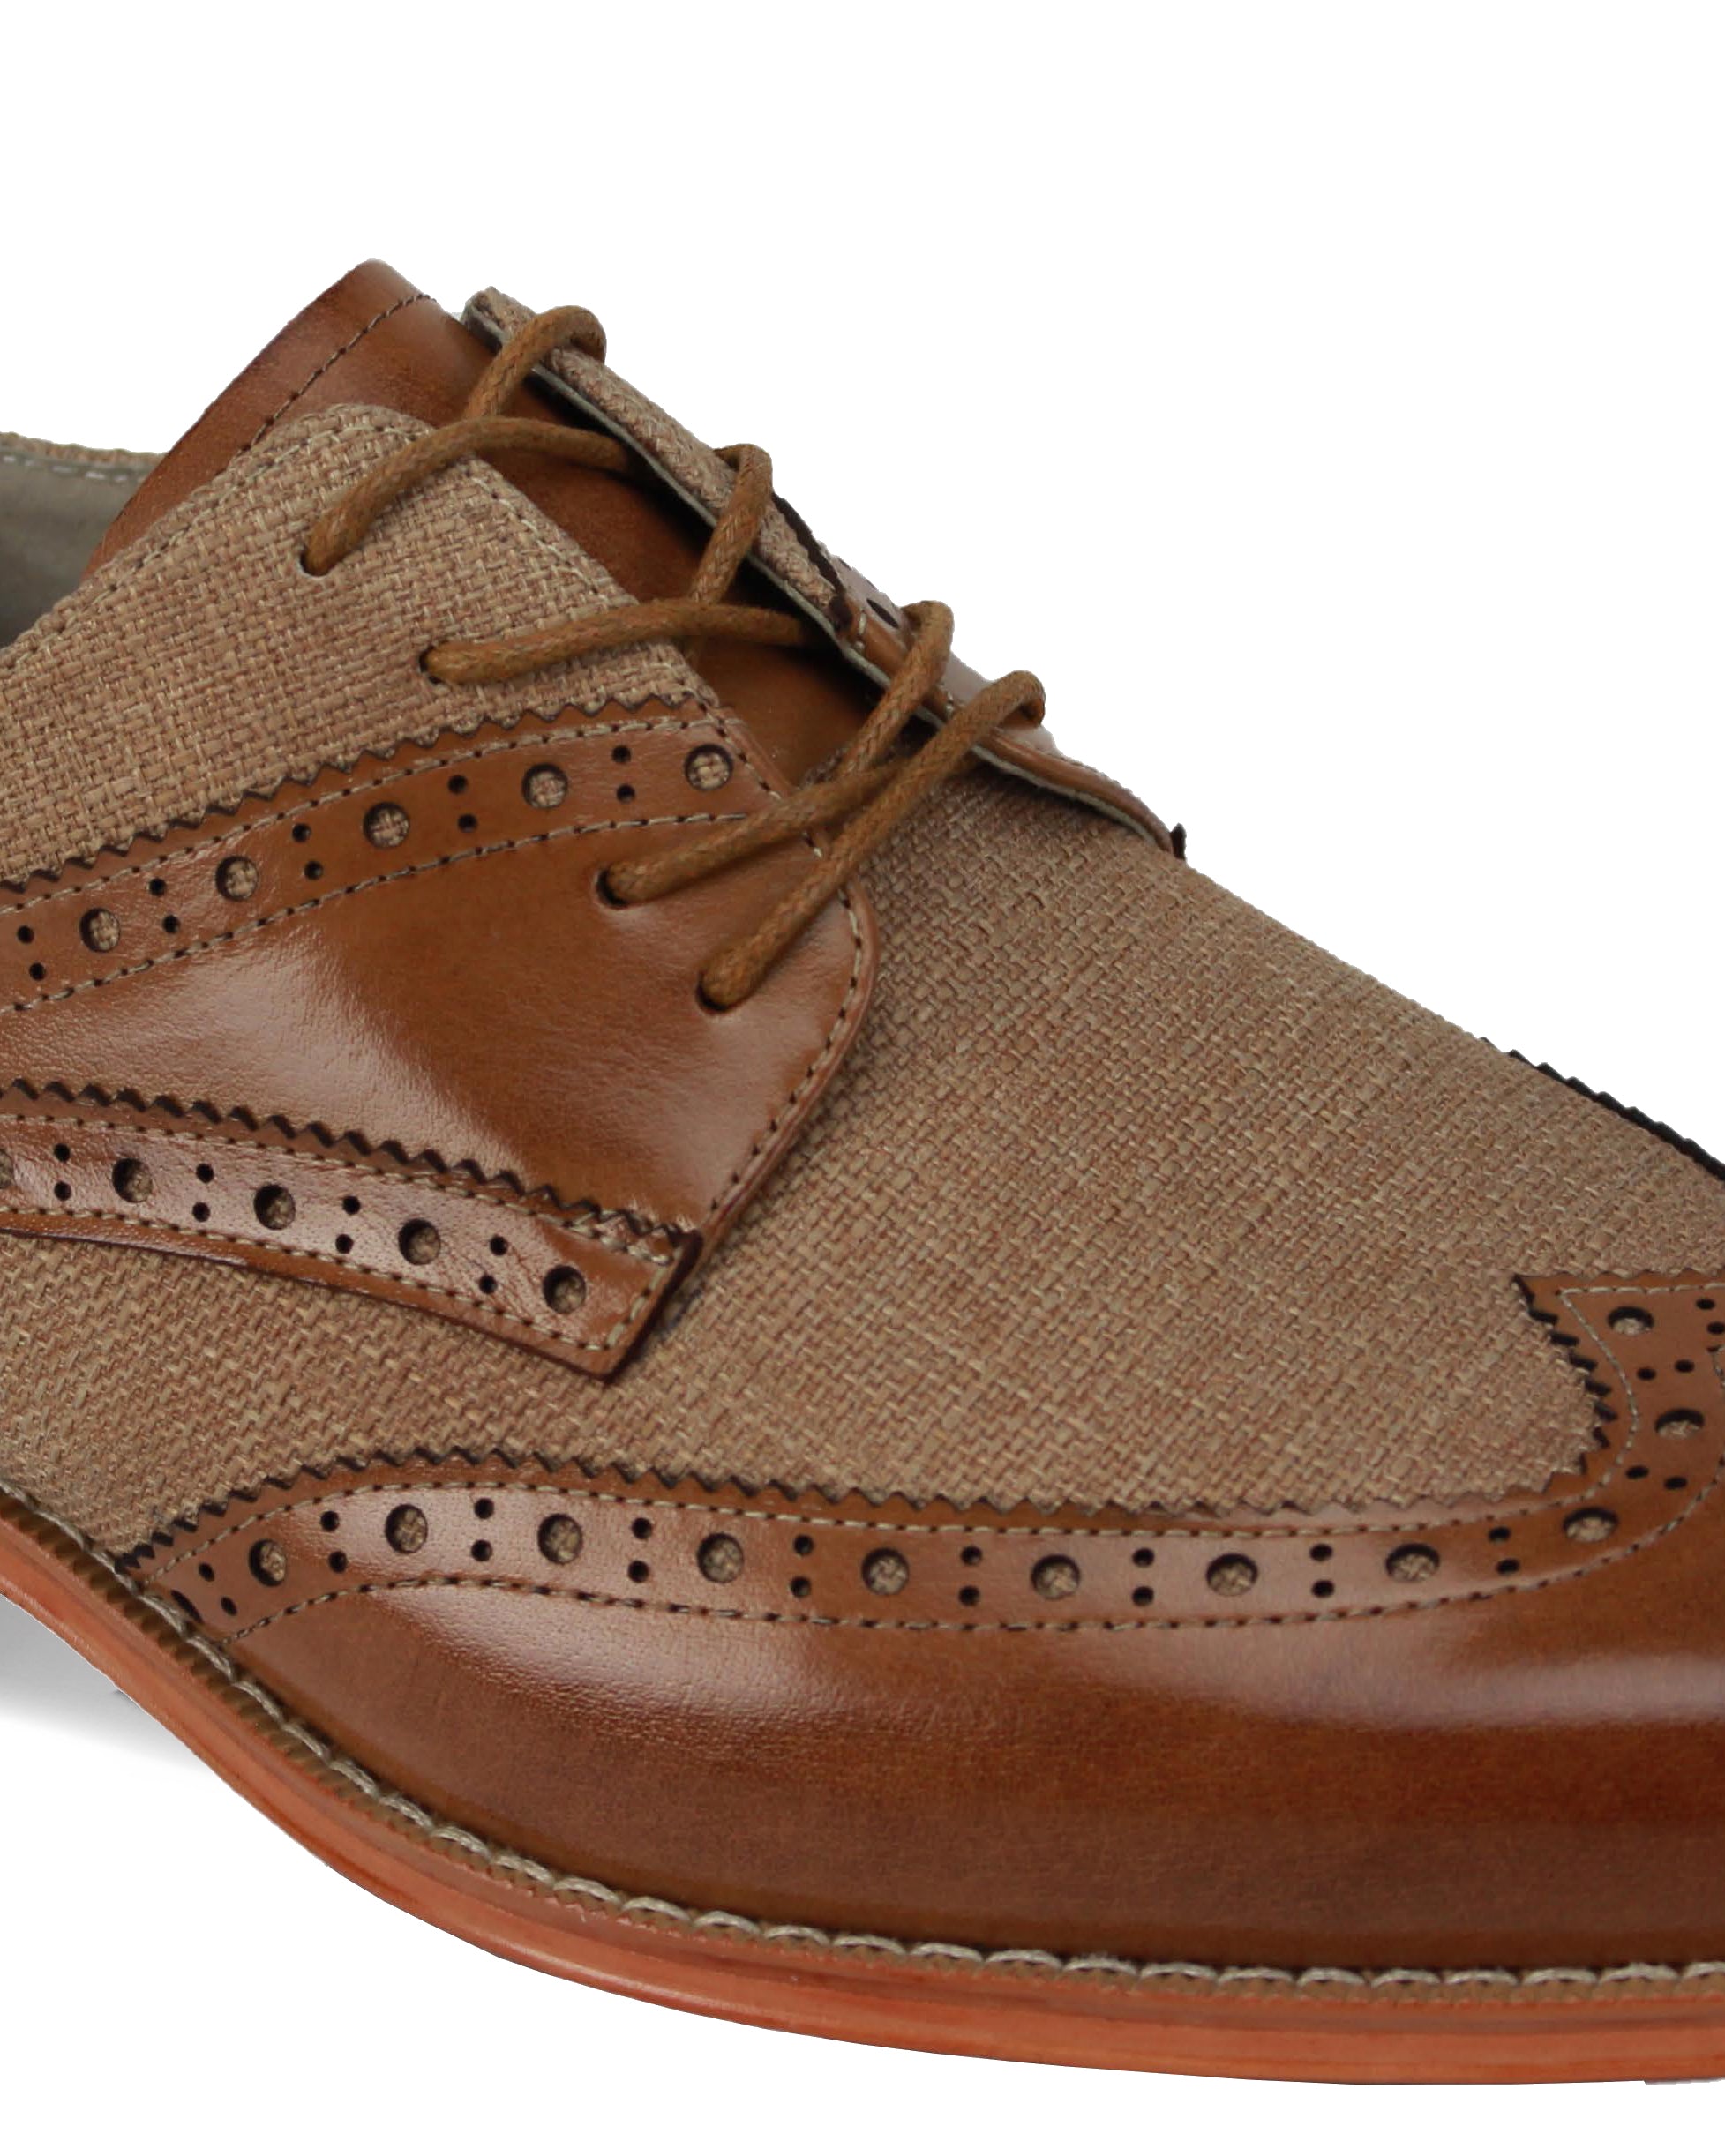

Have you ever looked down at your shoes and thought, "Hmm, did I tie these right?" Well, tying your lace-ups the right way is super important, not just to make your shoes look cool, but also to keep your feet comfy and happy all day long. Whether it's your shiny dress shoes, your favorite casual sneakers, or those tough boots, knowing how to tie them up perfectly is a skill worth having.
So, why bother learning this? Because the way you tie your shoes can really show off your style and make sure your feet feel good, whether you're running, walking, or just chilling. Plus, nobody wants to trip over untied laces, right?
Understanding Your Lace-Ups
Now, let's get to know your lace-ups a bit better. There are a few different ways you can tie your shoes, and each method might be better suited for different types of shoes. For example, you've got the standard way most of us learn when we're kids, but there are also fancy methods like criss-cross or bar lacing that can make your shoes stand out.
Each shoe has its own little world of laces and holes (those are called eyelets, by the way), and at the end of each lace, there's a small plastic or metal bit called an aglet – it's like a mini bodyguard that keeps your laces from fraying.
The way you lace them up can make a big difference in how they look and feel. So, let's dive in and get those laces in tip-top shape!
Preparing to Tie Your Lace-Ups
Before we jump into tying those laces, let's start from the very beginning – threading them through your shoes. This might seem like a no-brainer, but there's a neat way to do it that'll set you up for success.
-
Lay Out Your Shoes and Laces: Make sure your shoes are clean and ready, with the tongue pulled forward. Lay your laces flat without any twists or kinks.
-
Starting at the Bottom: Take the ends of your lace and thread them through the bottom eyelets (those are the holes closest to the toe of your shoe). Make sure you start from the outside in, so the lace ends are inside the shoe pointing towards you.
-
Check the Length: Pull both ends to make sure they're even. This is super important because uneven laces can make tying tricky!
-
Criss-Cross Threading: Take one end of the lace and cross it over to the opposite eyelet, threading it through from the top. Do the same with the other end. Keep going, alternating sides until you reach the top eyelets.
-
Flat Laces for the Win: As you thread, keep the laces flat against the shoe. This not only looks better but also prevents annoying twists that can make your laces uncomfortable.
Basic Lace-Up Tying Technique
Now, let's get down to business – tying those laces!
-
Cross the Laces: Hold a lace in each hand and cross them over each other in the middle, making an "X."
-
Make the First Knot: Tuck one lace under the other and pull both ends tight. You should now have a simple knot right in the center of your shoe.
-
Form the Loops: Make a loop (or a "bunny ear") with each lace. You should now have two loops, one in each hand.
-
Tie the Loops: Cross the loops over each other, making another "X." Tuck one loop under the other, just like you did with the straight laces.
-
Pull and Secure: Gently pull both loops outwards to tighten the knot. The goal is to make it snug but not too tight – you want your feet to be comfy!
-
Double-Check: Look at your tied laces. They should be neat, with the bow sitting across the top of your shoe, not sliding off to one side.
Alternative Lace-Up Tying Techniques
Besides the classic way of tying your shoes, there are some cool alternative methods that can make your lace-ups look unique and even feel different on your feet. Let's explore a couple of these funky techniques:
-
Criss-Cross Lacing: This method is just like it sounds – you cross the laces over each other all the way up the shoe. It's not only stylish but also provides a snug fit, perfect for activities where you need your shoes to stay tightly on, like running or playing sports.
-
Bar Lacing: This technique gives your shoes a neat, orderly look with horizontal bars running across the shoe. It's a hit for dress shoes or when you want to add a touch of class to your casual sneakers. Plus, it's super easy to tighten and loosen, making it a great choice for when you need to slip your shoes on and off quickly.
When to Use Them: You might pick one of these methods to switch up your style, match a specific outfit, or just to stand out from the crowd. Each method also has its own benefits, like added tightness or ease of use, so feel free to experiment and see what works best for you!

Securing the Knot
No matter how you tie your laces, making sure they stay tied is key. Nobody wants to trip over loose laces, right? Here's how you can lock down your laces for good:
-
Tighten Each Step: As you tie your laces, make sure each part of the knot is pulled tight. This means tightening the base knot before you make your loops and then tightening the loops before the final pull.
-
The Double Knot: For extra security, you can add a double knot. After you tie your laces with any method, just take the two loops (or bunny ears) and tie them together again with a simple knot. It's like a backup plan to keep your laces from coming undone.
-
Check and Adjust: After you've walked around a bit, give your laces a quick check. If they feel loose, give them a little tug to snug them up again. It's all about keeping your shoes comfortable and secure on your feet.
Practice Makes Perfect
Just like learning to ride a bike or hitting a baseball, tying your lace-ups gets easier and better with practice. The more you do it, the faster and more confident you'll become. So, don't worry if you don't nail it on your first try!
Try practicing on different shoes you have at home. Maybe you have some sneakers, dress shoes, or even boots. Each type has different laces and feels a bit different when you're tying them. Some laces are long and thin, others might be short and thick, and they all behave differently. By practicing on various shoes, you'll become a lace-tying expert in no time!
Troubleshooting Common Issues
Even lace-tying pros can run into a few hiccups now and then. Here are some common issues and how to fix them:
-
Uneven Lace Length: If you start tying and notice one lace is way longer than the other, it's usually because the first cross wasn't even. Just untie, adjust so both ends are the same length at the start, and try again.
-
Knots Coming Undone: This can happen if the laces aren't pulled tight enough at each step. Make sure you're tightening the laces as you go. And remember, the double knot trick is your friend for extra security.
-
Discomfort While Wearing: If your shoes feel tight or pinch after tying, you might be tying them too tightly or the laces might be uneven. Loosen them up a bit, and make sure the pressure is distributed evenly across your foot.
To Recap
Mastering the art of tying lace-ups is a valuable skill that'll serve you well, whether you're gearing up for a big event or just heading out to the park. Remember, every expert was once a beginner, so be patient with yourself and keep practicing. Before you know it, you'll be tying your laces quickly and confidently.
And who knows? Maybe you'll even develop your own unique style of tying lace-ups. So, keep at it, don't get discouraged, and most importantly, have fun with it. And when you're ready to show off your new skills, don't forget to check out our lace-ups collection for your next pair of stylish, tie-able shoes!